
Epoxy Resin Hacks
Here' an excerpt from HalfBakedArt | A Resin Artist's Blog
Or read the full post: https://halfbakedartblog.blogspot.com/
Pro Resin Tips:
- Temperature and humidity play an important role in resin pouring
- Always work in a climate controlled space.
- Cold resin should be warmed before mixing. 85 - 90°F (120°max) Especially if the storage room temp is below 68°F
- Warming your epoxy resin before measuring/mixing will make it slightly thinner so it combines effortlessly and generates fewer air bubbles.
- Clean the substrate/surface with 91% isopropyl or denatured alcohol before coating. Repeat between coats.
- Pour Part A into the mixing container first, then add Part B (portion as directed)
- When mixing your Part A and B, stir smoothly, not vigorously, so you don't create too many bubbles.
- After mixing thoroughly, let the container sit for 1 minute and most of the bubbles will rise to the top (like foam) Use quick, sweeping motions with a heat gun to a remove the layer of bubbles. (do not melt your container)
- Constantly scrape the sides and bottom of the mixing container to avoid a ruined project with sticky spots or uncured areas.


- To increase your open time (work time) add a few drops of 91% isopropyl alcohol to your mixing cup
- To expedite the curing time, close all doors and vents in the work space then add a space heater. This will speed up the dry time tremendously.
- The more resin you mix, or the deeper the container, the faster it will gel (start to cure). When mixing a large amount, pour onto your surface or divide the mixture into smaller portions ASAP. Do NOT let the full mix cup sit! If your not prepared for your pour, read my previous post
- Never pour resin more than 1/2 inch deep or in too large of an area. This will cause excessive heat build up during the exothermic process and the resin will smoke and bubble over like a volcano and leave white foam in the weakened cured resin. (not to mention a fire hazard)
- For deep voids or layers, use a resin designed for a deep pour EcoPoxy Liquid Plastic OR build up 1/4 inch layers, one at a time, until you've filled the area. *see below
- The more resin there is, the more heat that s generated.(total volume i.e. deep container or extra large surface area or depth) Excessive heat decreases the open time, accelerates the gel time and usually ruins the curing process
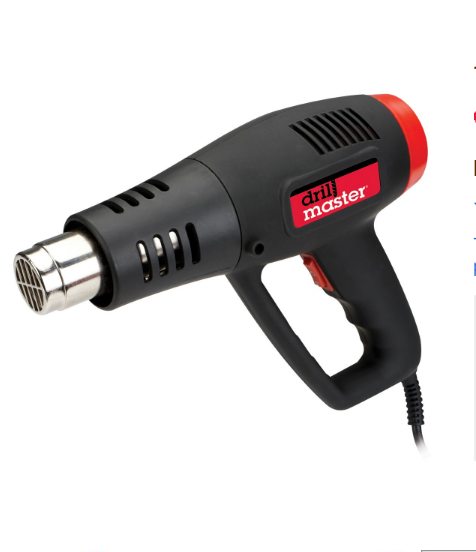
- When de-gassing, use a heat gun to cover a larger area at once. Stay 4-6 inches above the surface in a sweeping motion and always keep it moving. Wait 15 - 20 minutes and repeat.
- Use the glare from lighting to see the imperfections in the wet resin layer and correct them. Air bubbles too.
- If your stored epoxy resin has been exposed to freezing temperatures, it may crystallize. Warming it slowly, by heating the resin in warm water, will restore it to a usable condition.
- All items to be coated, (covered, encapsulated or embedded) in resin must be sealed. Use a thin layer of resin, artist quality sealant.
- All items and surfaces MUST be completely dry before applying epoxy resin. Even a hint of moisture will ruin the pour, turn the resin cloudy or bubble and peel off in time

- When coloring resin, a little goes a long way.
- The general rule is 10:1 ratio. (I use 5
- Most types of pigment will use less. NEVER exceed 20% of ANY additive, filler or modifier. .